
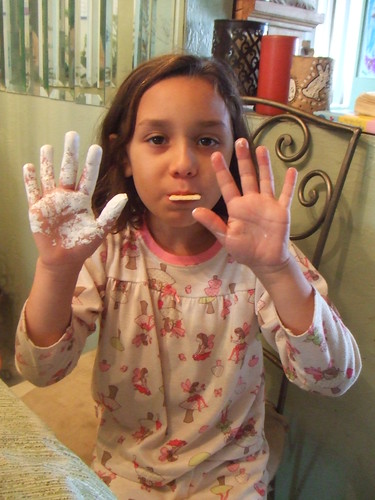
I had decided for us to make snow owls instead od snow men and to make them out of papier mache. I hadn't made anything out of papier mache since the eighth grade but have been wanting for some time. While I was making the paste I had Nat making two different size balls (one for the head and one for the body) out of newspaper. I also made two and we secured them with a little bit of tape. Once the paste had cooled a bit, we began dipping our torn pieces of newspaper around the balls. She loved the 'gooeyness' of the paste so much I don't even think it mattered that we would have to let them dry for a day.
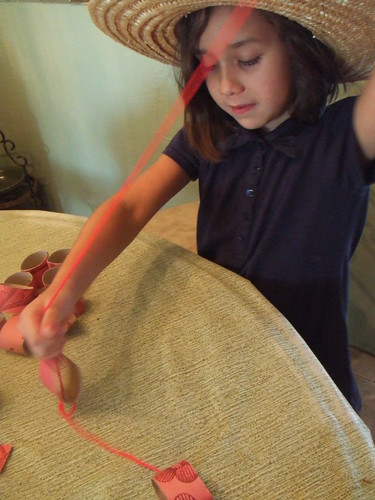
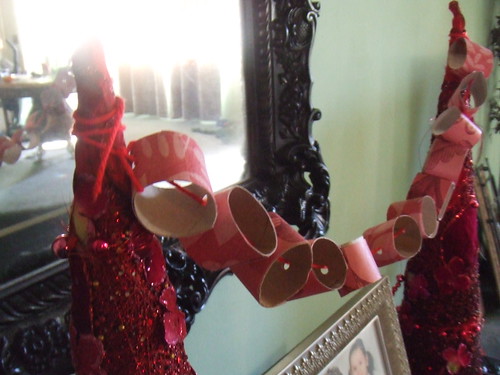
After we pasted up the newspaper we set off to make a garland from toilet paper rolls and pretty paper. I had her glue the decorative papers on the rolls, then we cut them and we hole-punched them. She took red string and laced them through the holes to make a little garland that she set up all by herself.
Today was part two of our craft time. The papier mache had dried and we took our pieces of newspaper and began painting them with white acrylic paint. The paint covered pretty well and we didn't have to make multiple coats of paint.
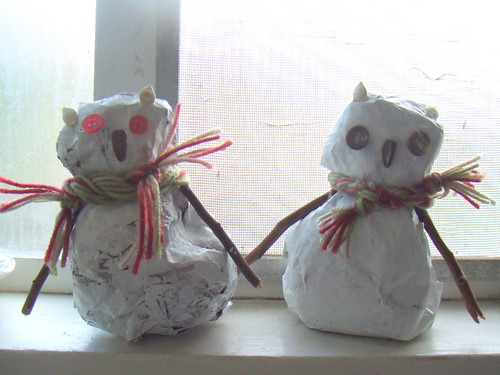
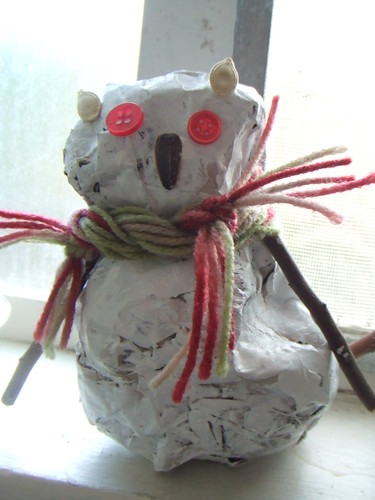
Once the heads and bodies were dried, I glued the 'wings' out of twigs to the sides of the body and then glued the 'heads' on top. Nat enjoyed picking out buttons for eyes (she choose red) and glued them on the heads as well as a sunflower seed for the beak. I glued squash seeds (that I had cleaned and saved some time ago for craft projects) on top of the heads for the little ear tuffs. We also braided string for their scarves while waiting for all the glue to dry. She named her owl 'Sherbert Diamond' and I named mine 'Lune'.


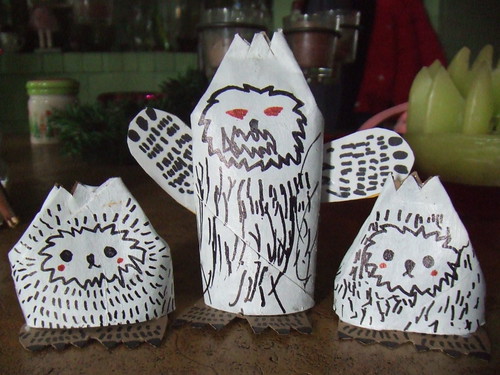
Last, but not least, we made a little Yeti family, also out of toilet paper rolls (hey, why not collect them and use them for awesome crafts!) We painted two rolls with the white acrylic paint. When they were dried I cut one in half to make the yeti babies. I folded the top of the rolls from both sides, glued and then put paper clips on top until the glue was completely dried. After I cut the tops to make 'hair' and we began drawing their faces and their hair. I cut up more cardboard to make their feet and the momma's arms. Natalie wanted the momma to have red eyes and not the babies because the momma is protecting her children.
Today was part two of our craft time. The papier mache had dried and we took our pieces of newspaper and began painting them with white acrylic paint. The paint covered pretty well and we didn't have to make multiple coats of paint.
Once the heads and bodies were dried, I glued the 'wings' out of twigs to the sides of the body and then glued the 'heads' on top. Nat enjoyed picking out buttons for eyes (she choose red) and glued them on the heads as well as a sunflower seed for the beak. I glued squash seeds (that I had cleaned and saved some time ago for craft projects) on top of the heads for the little ear tuffs. We also braided string for their scarves while waiting for all the glue to dry. She named her owl 'Sherbert Diamond' and I named mine 'Lune'.
Last, but not least, we made a little Yeti family, also out of toilet paper rolls (hey, why not collect them and use them for awesome crafts!) We painted two rolls with the white acrylic paint. When they were dried I cut one in half to make the yeti babies. I folded the top of the rolls from both sides, glued and then put paper clips on top until the glue was completely dried. After I cut the tops to make 'hair' and we began drawing their faces and their hair. I cut up more cardboard to make their feet and the momma's arms. Natalie wanted the momma to have red eyes and not the babies because the momma is protecting her children.
5 comments:
I love the garland idea! Cute, thrifty and recycle-y. :)
We just had a "Bigfoot" birthday party for my son...perhaps we should join your club!
Here's a link to the party photos:
http://foursquareschoolhouse.wordpress.com/2009/11/22/benjamins-5th-birthday-party/
Love your yetis--very cute!
melanie--i know, i love to do crafts that help out the earth a tad bit too!!
jessica--i adore that post, i left a comment there as well :)
Love your snowy owls! We're hoping to make them soon, and have linked to them today:
http://www.playingbythebook.net/2010/07/01/polly-and-the-north-star/
I love how creative this craft project turned out.
Post a Comment